At the point of writing this article, I'm thinking about how Vue is more favorable than react when adding classes to HTML elements on the fly. Which I will also be talking about. according to the Vue docs. Vue is a JavaScript framework that builds on top of HTML, CSS, and JavaScript and helps you efficiently develop user interfaces, be they simple or complex. I like the fact that your html and css skills are still valuable, Vue is beginner friendly and it's amazing.
What You Will Be Learning Today
adding a CSS overlay to an element on the fly
making use of v-if, v-else and v-show
Event Handlers, Class and style binding and lots more
let's dance guys 😄😄
I started with creating my divs and just passing other elements into it. by the way, recently I figured out HTML only has one concept, ELEMENTS, If it makes you feel any better, simplest markup language ever🔥
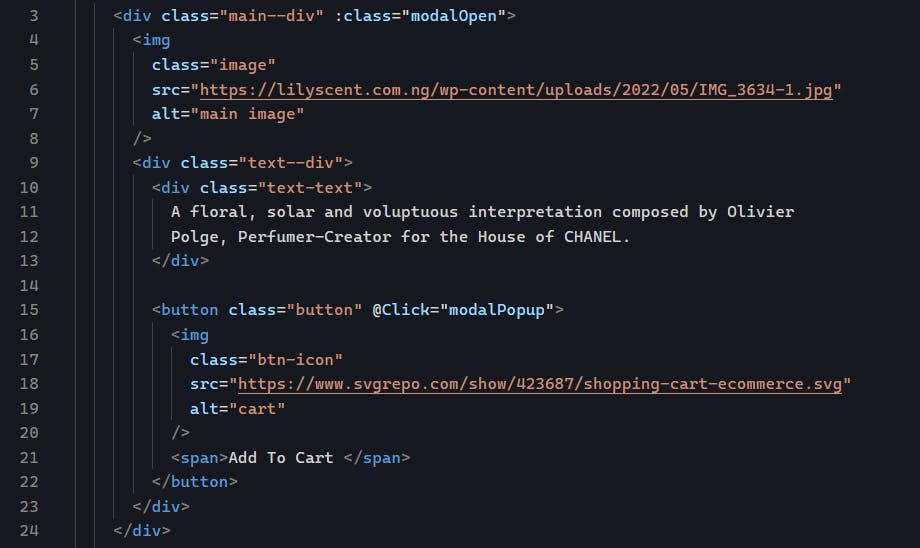
<div> is one of the most common HTML tags used as a container for contents or other HTML elements or tags.
we have the <img/> tag which is self-closing. We have several others like <input/> <br/> to mention a few. There is also a <button> and <span> elements used too.
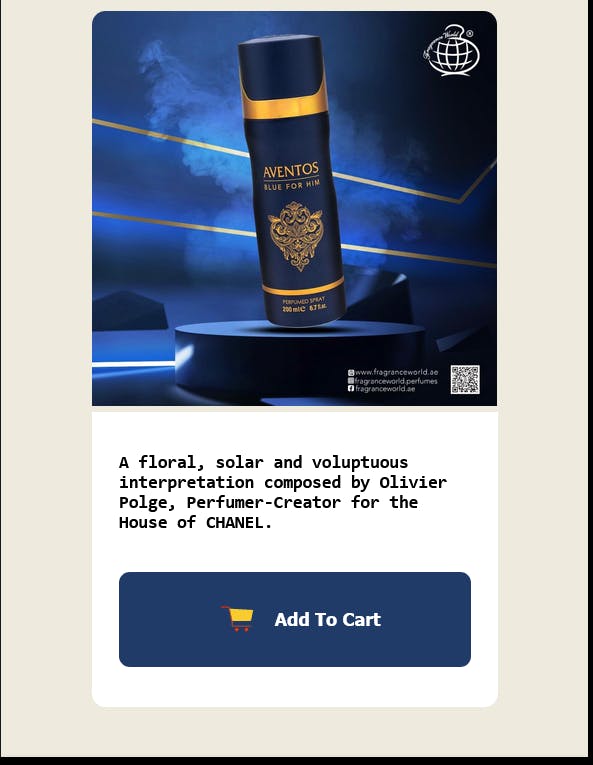
and we have a beautiful card. 😄 but it's not functioning. so I added an event listener to the button element with @Click="modalPopup" , we can also use the v-on:click which is referred to as a directive in Vuejs.
 <button class="button" @Click="modalPopup">
          <img
            class="btn-icon"
            src="https://www.svgrepo.com/show/423687/shopping-cart-ecommerce.svg"
            alt="cart"
          />
          <span>Add To Cart </span>
        </button>
The v-on directive is used for listening to events, adding it to an element means we are telling the element to listen for an event like click, hover, keyup , and lots more. and we can also give it a function to run when the click event happens and just as the name of the function says, the button click event makes a modal popup.
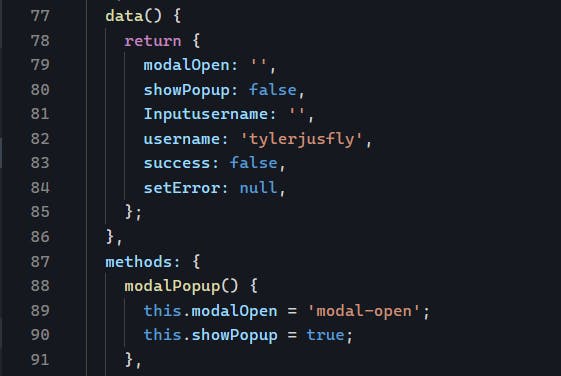
the modal popup sets the showPopup value to true and adds the class modal-open to an element on the fly, my favorite part of the code. the modal-open class adds an overlay to the element.

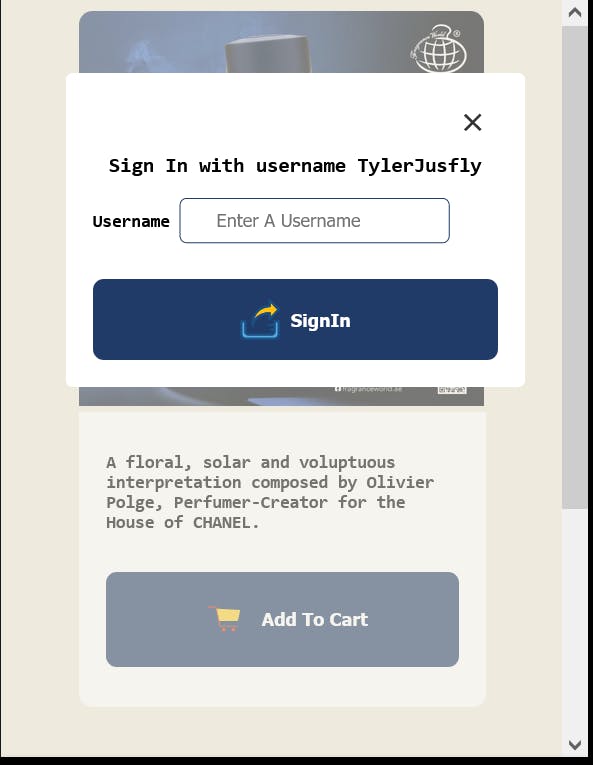
Adding a style dynamically to an element is called class binding.
let's talk about the v-show, v-if, v-else
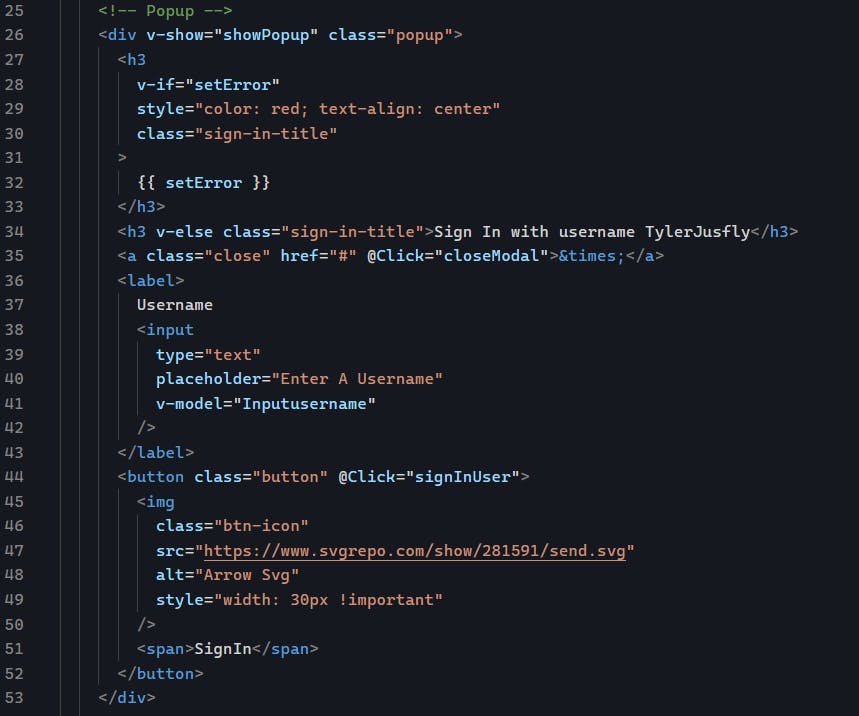
The v-if and v-else were used to render an error message in the code above on line 27 - 34 if setError does return a truthy value, it displays the value. On line 44 there is a button element that listens to a click event and runs the signInUser function.
 signInUser() {
      console.log(this.Inputusername.toLowerCase());
      if (this.Inputusername.toLowerCase() === this.username) {
        this.showPopup = false;
        this.success = true;
        this.setError = null;
        this.Inputusername = '';
      } else {
        this.setError = 'Invalid Username';
        setTimeout(() => {
          this.setError = null;
        }, 1000);
      }
    },
This function checks if user Input equals the username saved and if successful,
set showPopup, success, setError to null, else set an error message, and set It back to null in 1 sec, that's my favorite block of code right there. 😄
Onto the next popup 🌚 which is after setting this.success = true , which is attached to another popup, and I made use of the v-show here.
<div class="popup hello" v-show="success">
<h3>Hello world</h3>
<a class="close" href="#" @Click="closeModal">×</a>
<img
src="https://www.svgrepo.com/show/295329/connect-transfer.svg"
alt="image"
width="100"
/>
<p style="text-align: center !important">
I did'nt plan on letting you add anything to cart, let's just say i
pranked you. sorry.
</p>
</div>
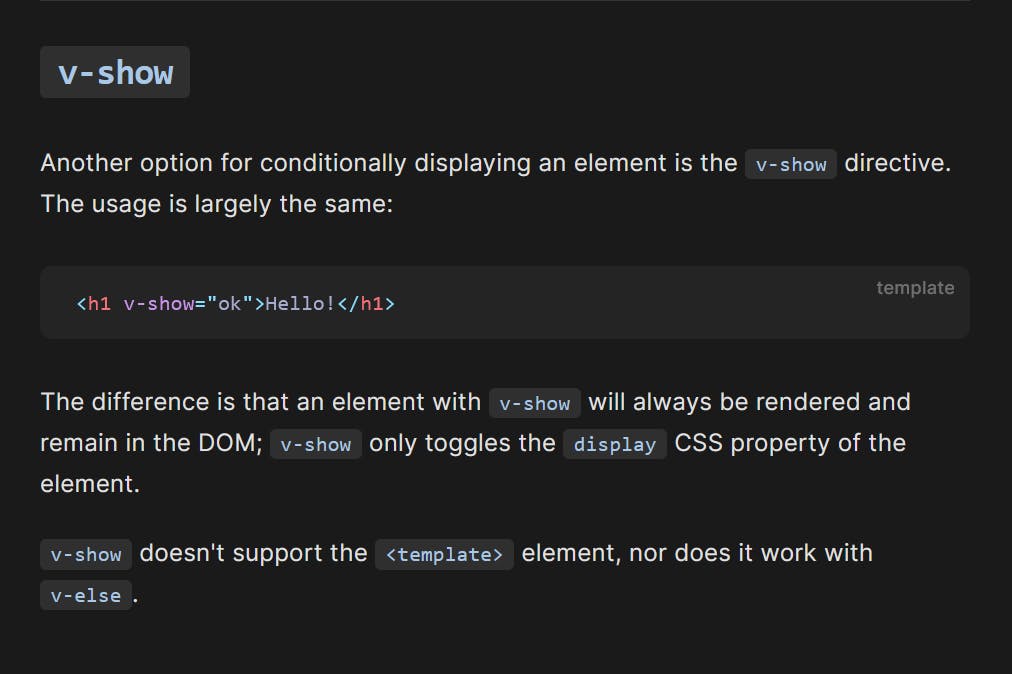
v-show also conditionally renders or displays an element when the value passed in the v-show is truthy. it doesn't take it away from the dom, it just doesn't show it.
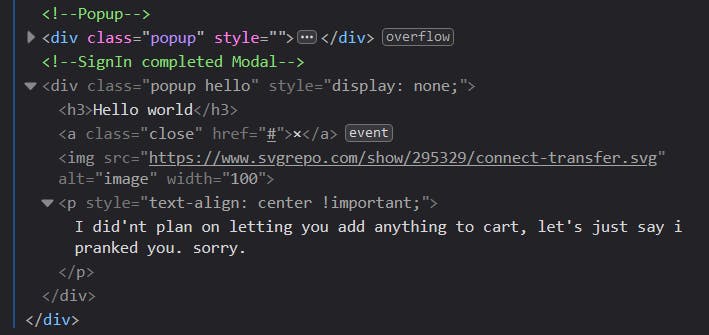
This Vue docs screenshot explains it all.
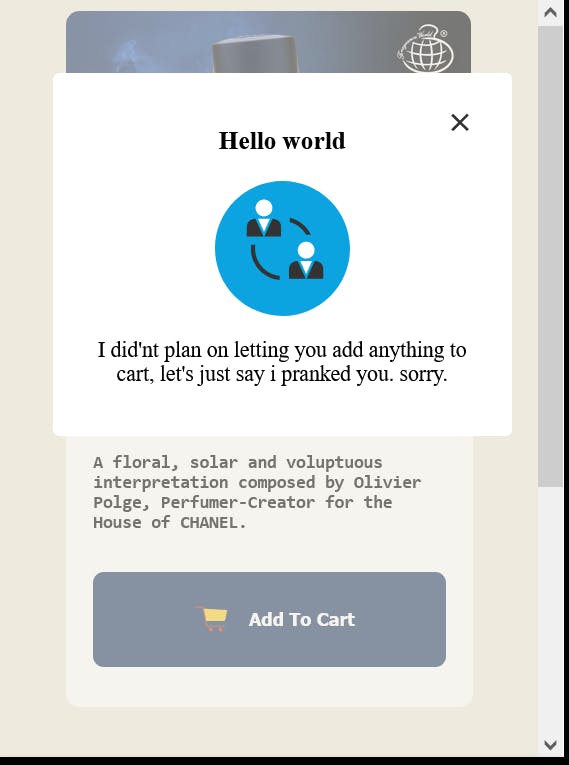
And there you have it, ladies and gentlemen. a web app built with Vue.
You can check out the code here and also view the live site.
Live Site : https://vue-sfrrew.stackblitz.io
Code : https://github.com/tylerjusfly/altschool-vue-break-test

