


First let’s Go over The basics of RabbitMQ.
If there was ever a simple definition of RabbitMQ, it's going to be,
RabbitMQ is just a message broker that takes a Message from a “Producer” and delivers it to a Queue for a consumer to have Access to it when available.
Producers send or publish messages to an Exchange, An exchange then routes this message to a queue. A queue waits for a consumer to be available. When consumers are available they receive messages from the Queue. Usually, the producer and consumer run on different machines and RabbitMQ bridges the gap between them.
I think a good example of why RabbitMQ exists would be let’s say Your Application(Producer) sends a message or notifications to Slack(Consumer), so let’s assume slack was down or not available at the time the message was sent, this message would be lost right? Instead of sending it directly , you decide to implement RabbitMQ, now your application doesn’t send directly to slack instead it sends the message to a rabbitMQ queue, so when slack is available again the messages are pushed to Slack(Consumer).
Sadly this article does not go over the full details and terminologies of RabbitMQ, Just how to set up a RabbitMQ server using Docker containers.
I assume you already have basic knowledge of Docker and you have Docker installed on your local machine. Just to check you can run docker –v , you should getDocker version 20.10.12, build e91ed57 or whatever version you have installed.
Head over to Visual Studio
Create a folder and a
docker-compose.ymlfile.Define the rabbitMQ version you would like to run on. Check out options here
https://hub.docker.com/_/rabbitmq
version: '3.9'
- Add the RabbitMQ service, the properties and environment you want the container to run in.
services:
  rabbitmq3:
- We will set the container name and the container image to pull from docker.
container_name : 'rabbitmq'
    image : rabbitmq:3-management
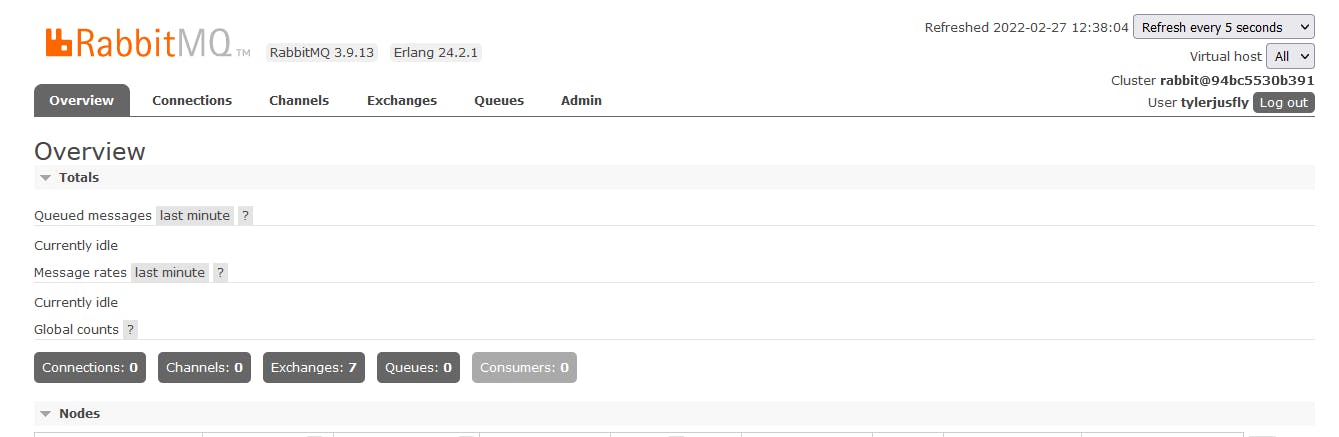
Here we also pull the image with the tag management because we want to access the RabbitMQ management UI. This management UI Image will give us access to RabbitMQ Queues, channels, QueueDepths, Messages_rates, all details about your queue basically.
- We also set the container environments. This is the RabbitMQ username and password that we will use to log in and access the RabbitMQ management UI.
environment:
      - RABBITMQ_DEFAULT_USER=tylerjusfly
      - RABBITMQ_DEFAULT_PASS=password
- And also we define the ports. This allows you to have access to the container on a browser or if you are connecting from a nodeJs application.
ports :
      #amqp protocol port
      - '5672:5672'
      #http management ui
      - '15672:15672'
Now your docker-compose.yml file is set, Let’s spin it up
version: '3.9'
services:
  rabbitmq3:
    container_name : 'rabbitmq'
    image : rabbitmq:3-management
    environment:
      - RABBITMQ_DEFAULT_USER=tylerjusfly
      - RABBITMQ_DEFAULT_PASS=password

    ports :
      #amqp protocol port
      - '5672:5672'
      #http management ui
      - '15672:15672'
- We will spin up our docker-compose file by running the
docker-compose upcommand in the terminal.
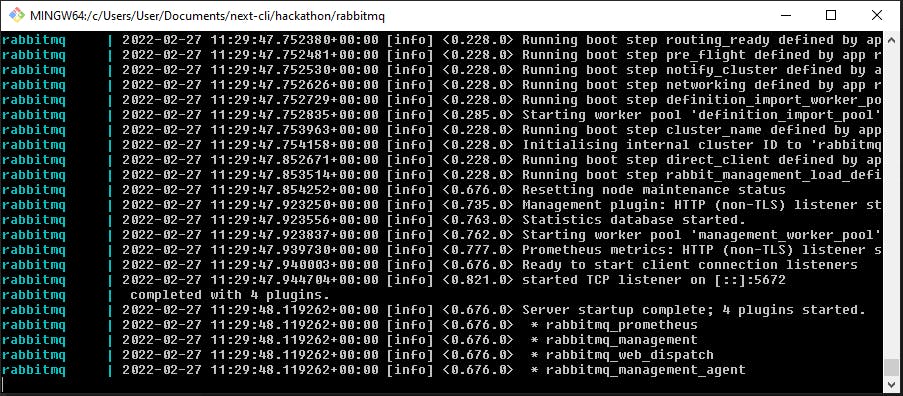
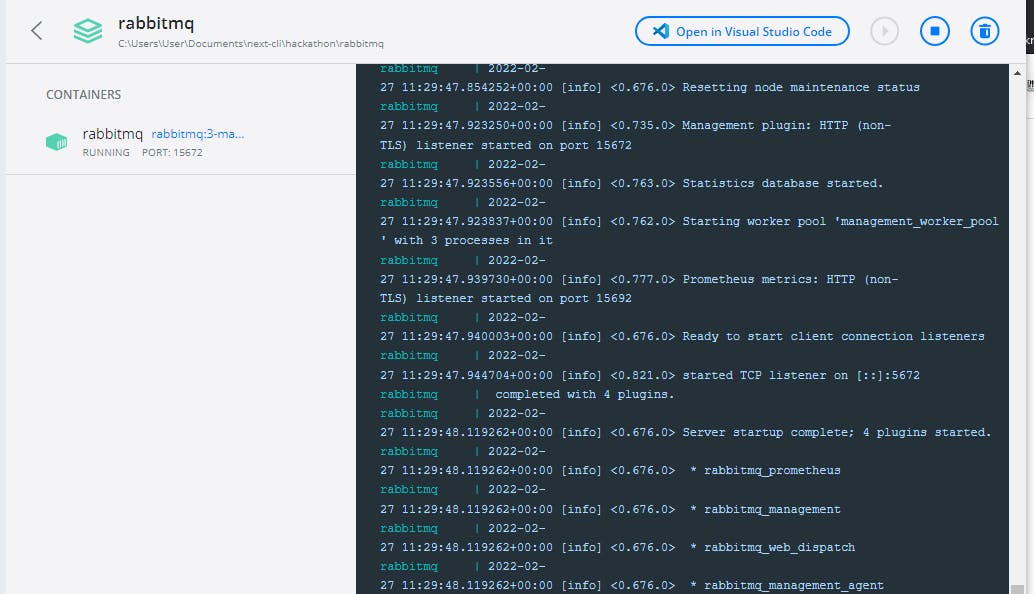
- If you open your Docker Desktop app, you will see the RabbitMQ container set and running.
- If you open
http://localhost:15672/on a browser, you will be able to access the management Ui, and now you can log in using the environment credentials set up in yourdocker-compose.ymlfile.
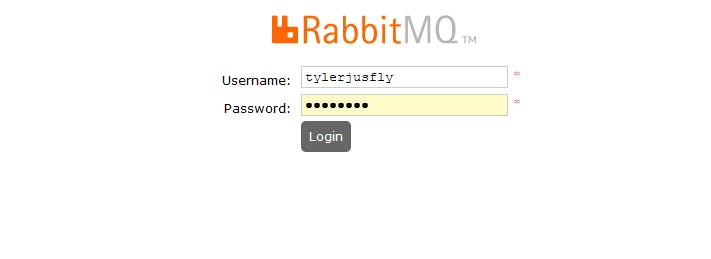
- Click the Login button and there you have it. Your RabbitMq container in docker.
Thanks for reading guys.